Update: Click here to see “Part 2 – Materials list for making Ukrainian Easter eggs” in which we go over the tools and materials needed for this traditional craft.
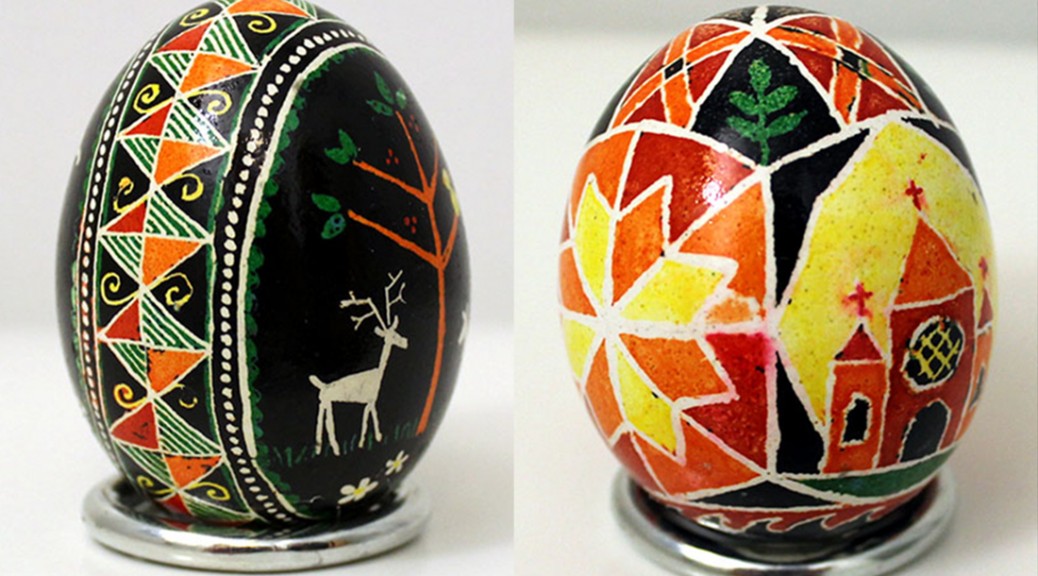
The Eastern European tradition of creating pysanky (singular pysanka) is generations old with historical and religious undertones. Amazingly, these impressively intricate and magnificently ornate pieces of folk art are created by dyeing the egg, not by painting. Obviously, pysanky takes your typical childhood Easter egg dyeing session to the next level… This Easter season, we made our own versions with our friends Anjie and Lily!
Pysanky are created using a wax-resist method. Essentially, eggs are sequentially dyed in progressively deepening hues. Between each dye, a design of wax is applied to retain that particular color and prevent it from being removed by the next dye. At the end, the wax is melted to reveal the vivid colors of the previous dyes. The project requires a good deal of planning, precision, and patience but the final product is extraordinary.
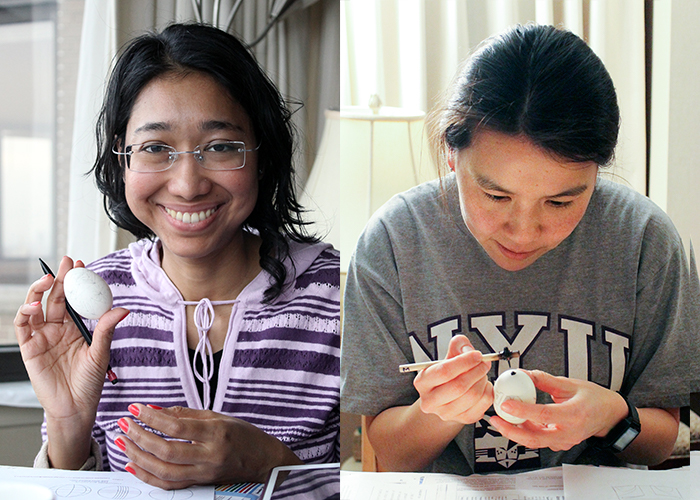
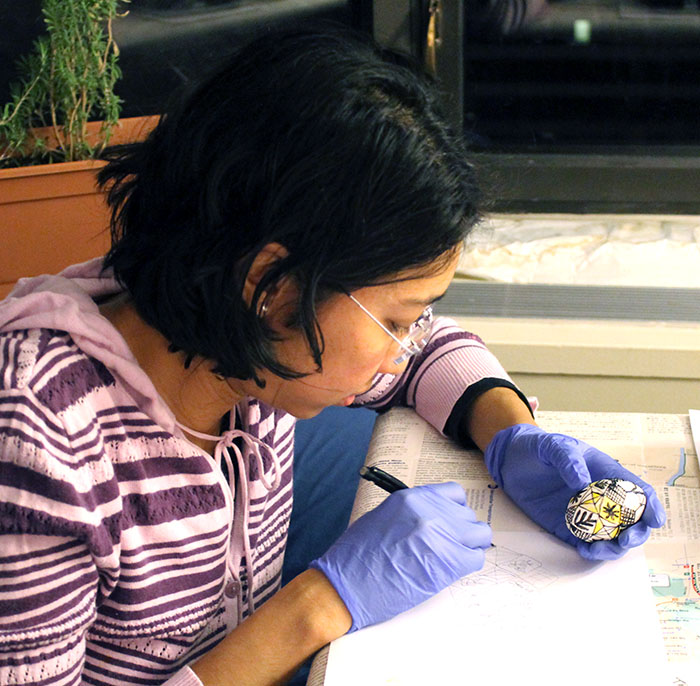
Additionally, the project requires a number of specialized supplies, which we gathered from an authentic Ukrainian shop here in New York City (Arka on 2nd St at 1st Ave), as well as an assortment of household items. Once we prepared everything we needed, we proceeded to experiment with pysanky with Anjie and Lily. Here are our buddies hard at work! Anjie made a beautiful abstract geometric and floral pysanka. Lily made an innovative Star Wars-themed Boba Fett pysanka.
We’ll post a detailed “how-to” in our blog in the near future which will elaborate upon the tools and procedure of pysanky but, in the meantime, this is an overview of what we did:
- Empty and wash egg
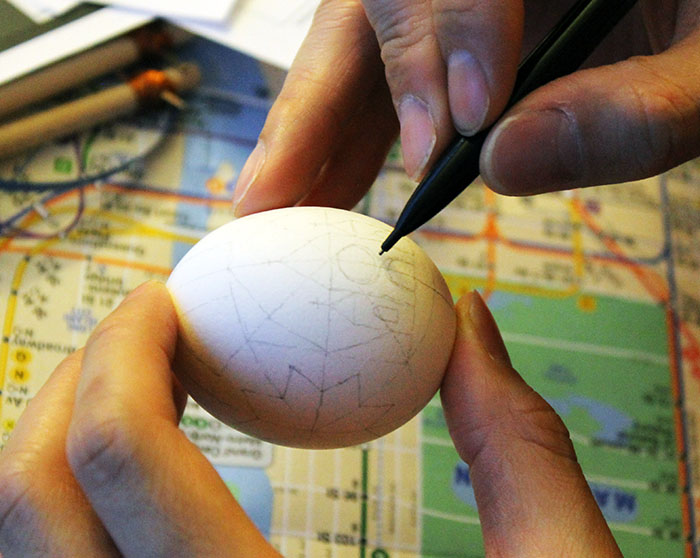
- Plan and draw design
- Heat kistka over candle
- Plug hole in egg
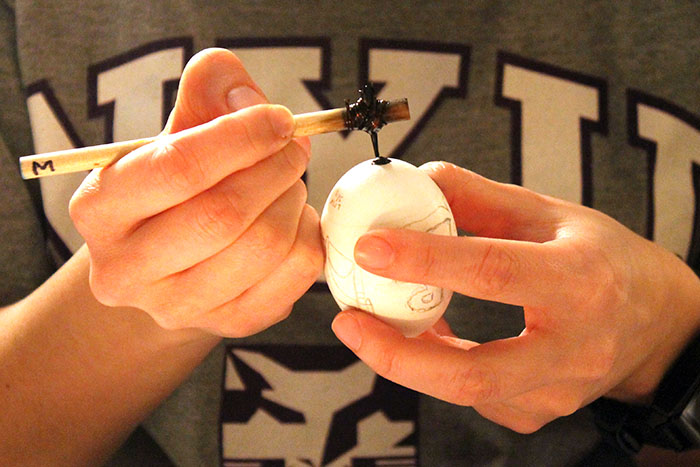
- Apply design of wax to retain first color
- Dye egg with second color
- Successively dye and apply wax in progressively darkening colors
- Heat egg
- Remove melted wax
- Varnish egg
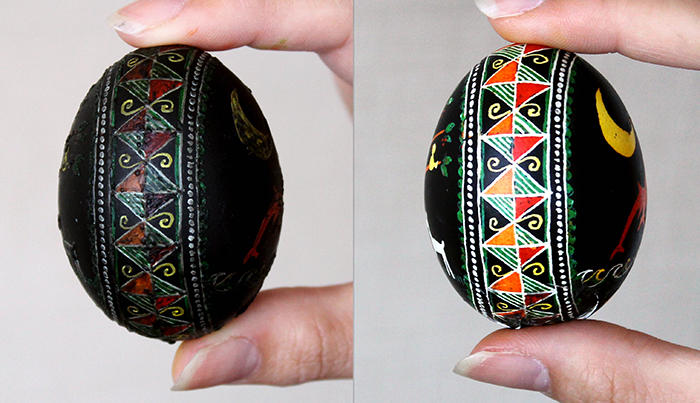
We had so much fun! Every person designed their own egg, and we used a combination of traditional pysanky motifs and modern-day imagery. Every person also planned their own sequence of dyes, and the results were excellent. The most exciting part of the entire process is melting the beeswax. Prior to this step, the egg looks particularly unpleasant because of ugly blobs of wax – the designs and patterns are not even clear. When the wax is melted, it easily wipes away, revealing colors much more vivid than expected.
Below, view a gallery of our beginner pysanky creations! We were very satisfied with the final results and this is a craft that we will definitely continue – whether or not it is Easter! Stay tuned for more details on our “How-To” of pysanky, and watch our creations progress at we get more practice…
Update: Click here to see “Part 2 – Materials list for making Ukrainian Easter eggs” in which we go over the tools and materials needed for this traditional craft.
Until next time,
Kathy May and Silas


Great stuff ….. wish I was there participating !!!!!!
Thanks for your comment! Don’t worry – now that we have the supplies, we will be doing more pysanky in the future and you will have opportunities to join!