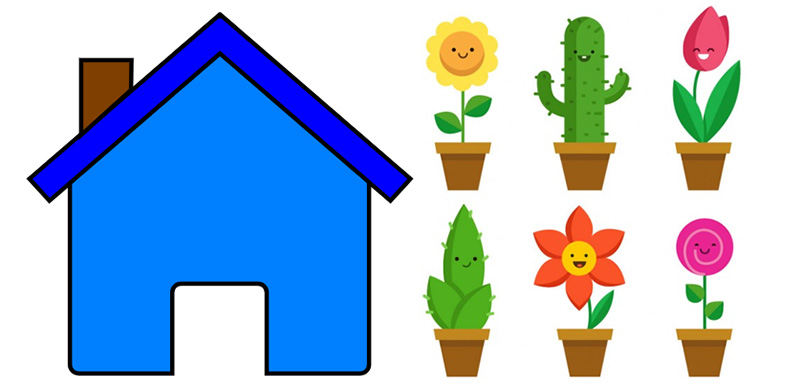
Mimi is a happy, peppy pup and the theme we chose was equally fun and playful. For the basics of the main design elements, we used pre-made vector files of a simple house from clker and anthromorphized flowers from freepik. There are innumerable free vectors available online, and a large advantage of vector art is that they can be imported into Adobe Illustrator to save a great deal of time in the design stage.
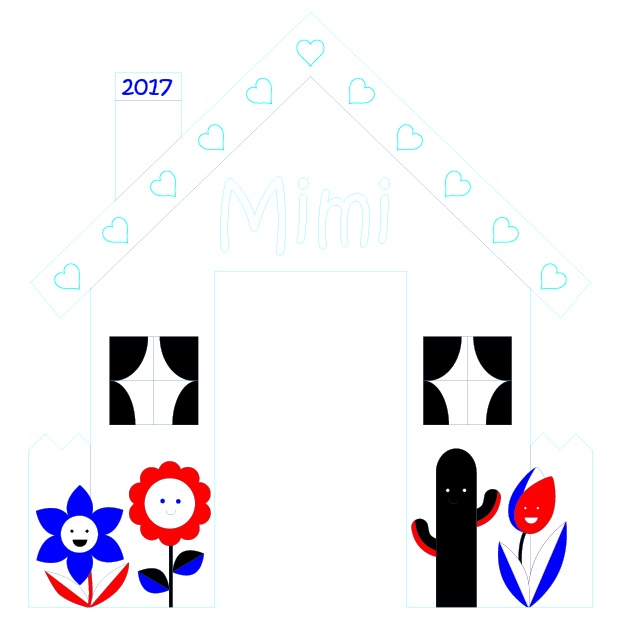
That being said, there was still a great deal of legwork to be done to modify the vector art into Mimi’s design (don’t worry, we won’t go into the nitty gritty in this post). In addition to tweaking the vector art, we also added other details including Mimi’s name to customize the design. After finalizing the design, we prepared the Illustrator file for the laser cutter. The instructions for the laser cutter – engrave, line, cut, etc. – are communicated via color. In this image, for example, cyan commands “vector cut”; navy blue commands “vector line”; and black, royal blue, and red command variable depths of “engrave.”
Next, we were off to Boston Makers, the non-profit makerspace in Jamaica Plains where we volunteer! Its laser cutter, 3D printers, and more are open to the community – let us know if you’re interested in dropping by! We imported our Adobe Illustrator file into Corel DRAW, which is the program the laser cutter utilizes to translate color (as above) to command. We selected 1/4” birch plywood for Mimi’s door. Here are a couple of 30-second videos of the laser cutter at work:
After cutting and engraving, we sanded the door to remove smoke stains from the laser cutting process. To prepare it for the outdoors, we sprayed it with two coats of Thompson’s WaterSeal Waterproofing Wood Protector. While at Boston Makers, we devised a way to mount Mimi’s door onto the balcony. Our solution was to design and 3D-print two C-hooks that would clamp the door to the bottom horizontal rung of the balcony. Here is a clip of the LulzBot as it is 3D-printing our C-hooks:
Back at home, we cut a Mimi-sized peephole from the wind barrier panel and slid the top of the house under the barrier’s fastener. The bottom of the house is held in place with the 3D-printed C-hooks. Here’s the final construction!
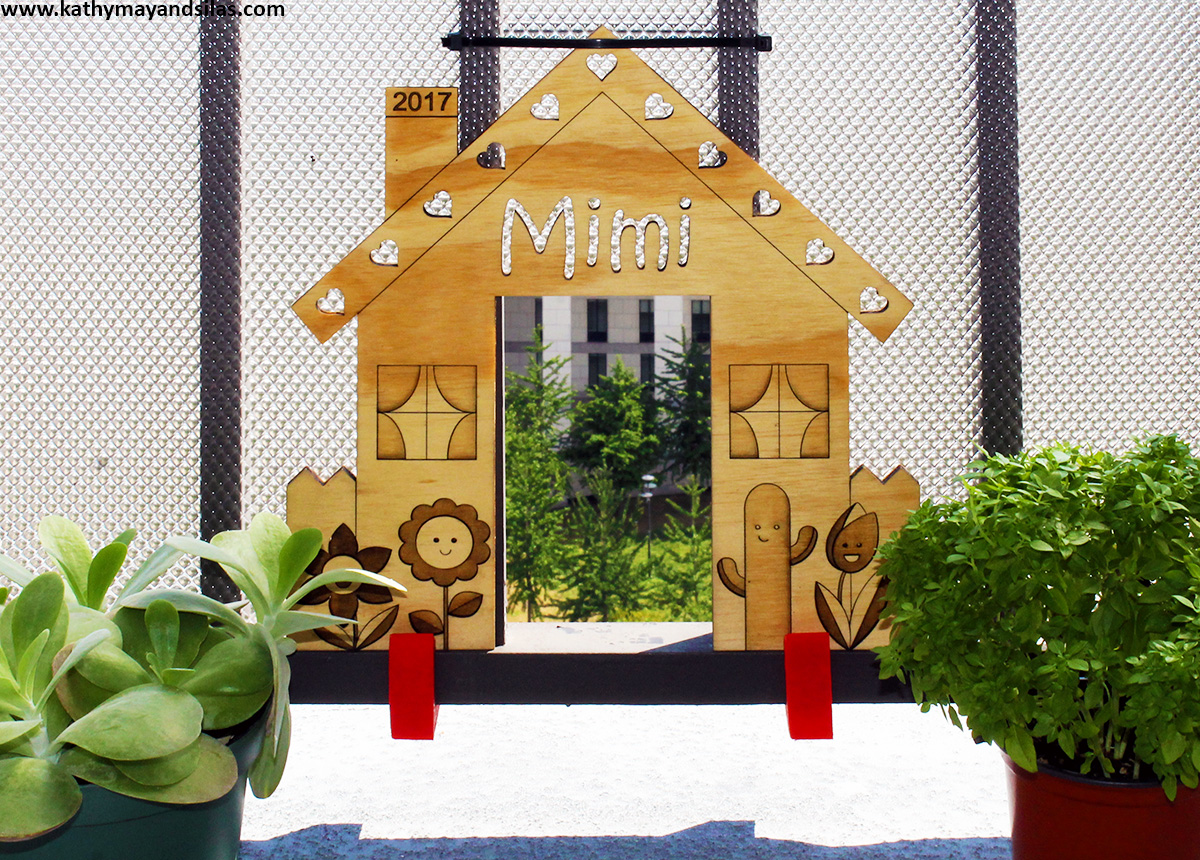
Mimi loves her new doggie door! She is again able to enjoy her view of the city below and to get a nice whiff of fresh air at her leisure! Click on the gallery images below to see some snapshots of her enjoying the balcony. By the way, we loved her door so much that we laser-cut a second copy to paint and display indoors. A picture of that is included in the gallery too!
Until next time,
Kathy May and Silas
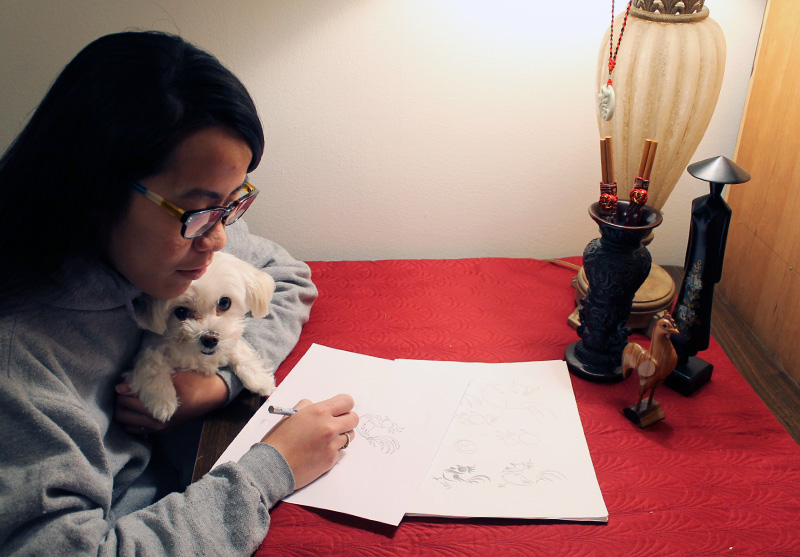
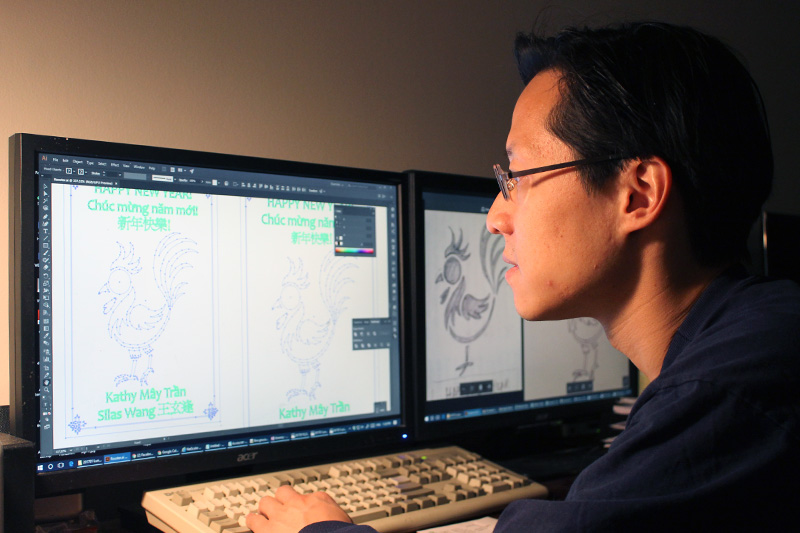
To start our project, Kathy Mây sketched the design. We decided to go with a clean image, one that was bold enough to reflect the confidence and showmanship that is typical of the Rooster.
Silas scanned the sketch into the computer. He used Illustrator to trace it and then clean it up into a final vector drawing that can be understood by the laser cutter. He then added trilingual text and a simple East-Southeast-Asian inspired design that did not overwhelm the Rooster, who thrives upon being the center of attention. In the Illustrator file, different colors corresponding to different laser settings.
We used the laser cutter at Boston Makers to complete our project! Based in Jamaica Plain, Boston Makers is a nonprofit organization that provides a collaborative workspace to encourage creativity and engage the maker spirit in the community – young and old, gals and guys, novices and experienced makers of all kinds! We have been volunteering there as hosts to staff the space and help people use the equipment to create their projects. If you are interested in learning or pursuing 3D printing, soldering and electronics, textiles and fabric arts, woodworking, arts and crafts, or any other kind of project, please let us know in the comments below!
We decided to use regular red posterboard, knowing that only the outside paper was dyed red; the internal layers are uncolored paper that would show up as a light brown. On the laser cutter, we used both the engraving and cutting functions. Click on the short video below to see the process in action:
Each rooster card was 65 x 95 mm, the perfect size to fit in a red envelope.

Here is the card evolving through its stages of creation, from sketch to vector art, to finished product!
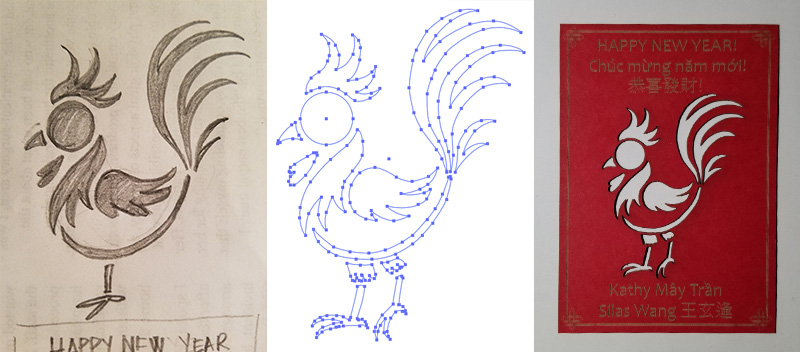
In addition to the Rooster card, each red envelope also contained our annual picture – in color coordination, of course – to commemorate the Lunar New Year.
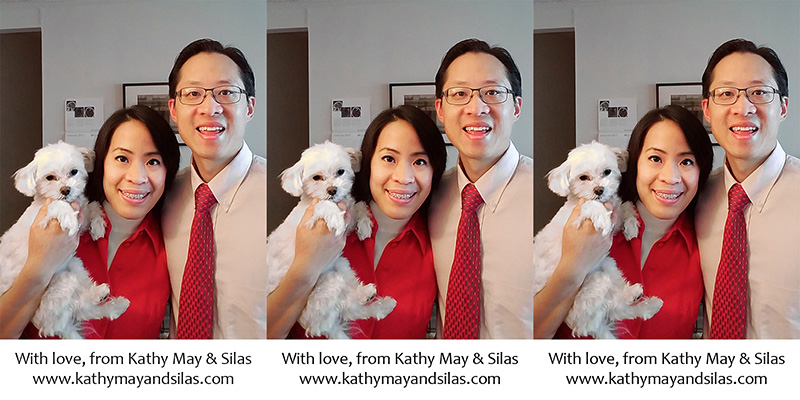
Happy Lunar New Year! This year we wish you peace, happiness, good health, and anything your heart desires!
Chúc mừng năm mới! Năm này mình chúc bạn bình an, hạnh phúc, sức khỏe, và vạn sự như ý!
新年快樂! 恭禧發財!
Until next time,
Kathy Mây and Silas
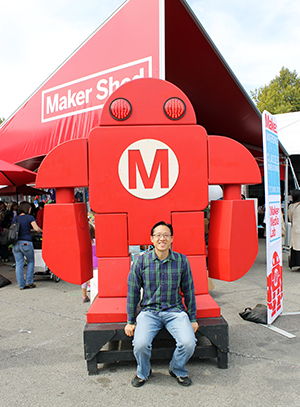 Just because we moved out of NYC doesn’t mean that we would miss one of our favorite events of the year: World Maker Faire! How do we explain Maker Faire? It’s an exhibition, festival, and celebration of technology, crafts, engineering, robotics, and everything DIY. It’s a gathering of inventors, tinkerers, scientists, artists, builders – all of whom are makers in their own domain. Held at the New York Hall of Science, the World Maker Faire is the largest of the international series; October 1-2, 2016 was the 7th annual event.
This year, we were thrilled to explore Maker Faire with Jon, Lily, and Jen! We chatted with creative minds of all ages and sizes and types. We learned about the latest machines, gadgets, and doodads. We heard about projects that others are pursuing and picked up ideas and tips for our own. We even made some things right then and there during the faire. Most of all, we had lots of fun!
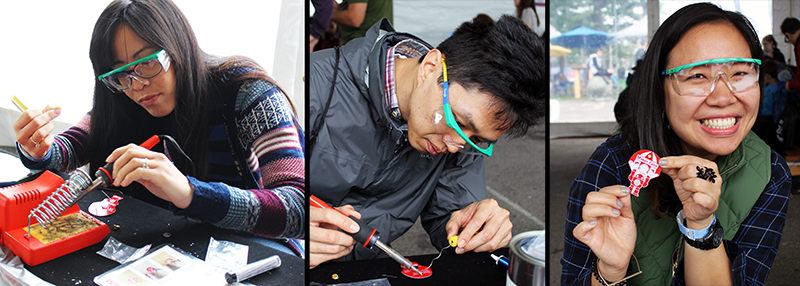
This is the first year we’ve participated in one of the most popular Maker Faire activities: learning to solder. Donned with Google safety glasses, we soldered a battery holder, pin, and LED to a printed circuit board in the shape of the Makey Robot. So easy and fun!
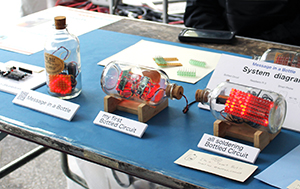 In the Maker Shed, we saw a vast array of innovative projects. One of our favorites was the circuits-in-a-bottle project by Kimio Kosaka. Incredibly, all the parts are soldered together inside the bottle. Unfortunately, this picture does not do this creative project justice! We were too busy marveling and asking questions. See more details on Kimio’s DIY video!
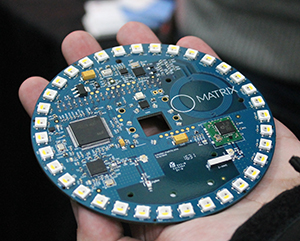
Maker projects spanned from fun at-home endeavors to commercial ventures. For example, we loved the MATRIX Creator, which is basically a Raspberry Pi add-on pre-built with a number of sensors and microcontrollers, powered by a proprietary (secret algorithm) operating system. Its capabilities are endless and clearly largely unexplored! Watch our video below to see one potential functionality: Face detection, tracking, and interpretation (also featured: our silly facial expressions :-P).
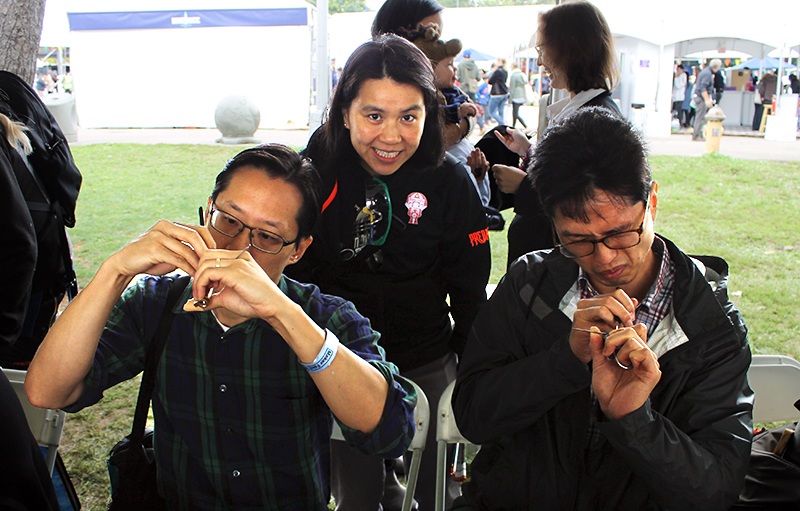
We tried our hand at single-pin lock picking. The instructions are much more easily explained than executed. Of our group, only Lily was successful! Here she is “supervising” Silas and Jon sweating away, hard at work.
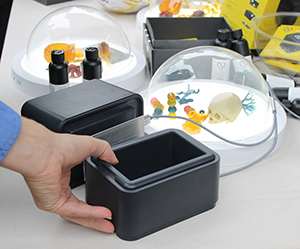 Years ago, at our first Maker Faire, we saw our first 3D printer. In a shockingly short amount of time, after decades of utility in industrial fabrication, these have now become mainstream. The MakerBot Replicator and even Formlabs Forms are old news and companies are now striving to distinguish themselves. Nowadays, you can 3D print plastics, metals, clay, rubber, even chocolates. We saw many examples of great efforts: printers which used plastic waste instead of filament or resin, others which printed and mixed different colored plastic, etc. We were most impressed by the ONO, the first-ever smartphone 3D printer which raised over $1 million on Kickstarter in just 5 days! A tray filled with DLP resin sits over the smartphone. This resin hardens with exposure to normal visible light. An app displays patterns on the screen to harden the resin while a moving platform pulls the hardened resin up so that the next layer can be printed. It should be available in the U.S. soon!
Check out this Knitting Printer, an awesome invention brought to us by Asbjørn Rørvik and Fredrik Fjellså from Norway! We were entranced by the process. So far it looks like its functionality is limited to making tubes – socks, scarves, and Dachshund sweaters… but who can have enough of those?! By the way, the component parts of these automated knitting machine were 3D printed, too!
Here are some other pictures of our highlights during the day!
1. Jon listening to knitting. Teresa Lamb wears a harness and arm-piece which translates the movements of knitting into sound.
2. Lily jamming out on a ukelele programmed with Arduino.
3. Kathy May operating Shaper Origin, the world’s first handheld CNC machine. It’s totally portable and self-guiding!
4. Silas examining water bears AKA tardigrades (indestructible micro-animals that can survive in outer space) under the microscope.
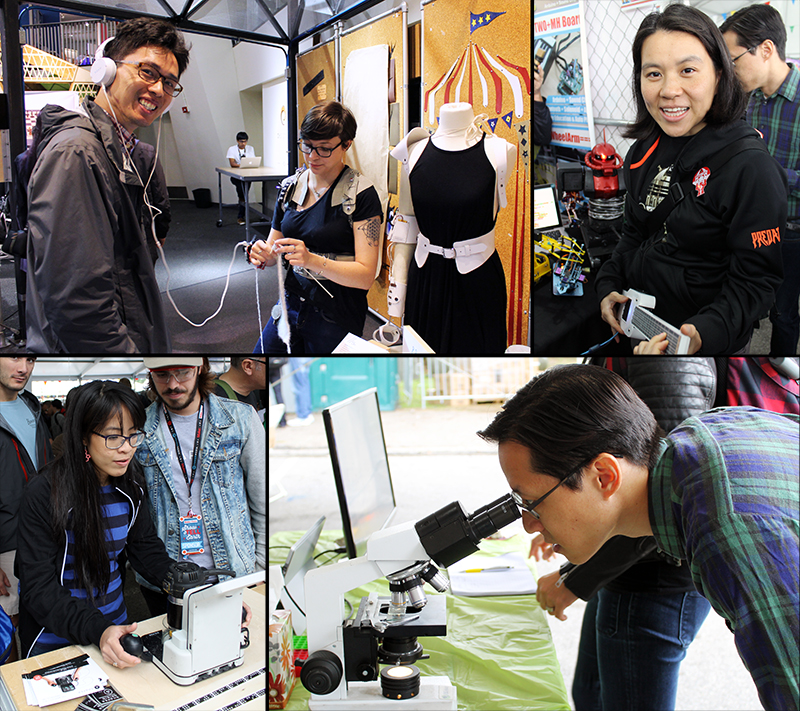
Check out our gallery for more Maker Faire pictures that we couldn’t fit into the body of this post!
[See image gallery at www.kathymayandsilas.com]Until next time,
Kathy May and Silas
Lightroom is a graphics design software and companion to Photoshop in the Adobe suite. While they’re both used for post-processing, Photoshop has a wider range of tools and capabilities; however, Lightroom is more than enough for the photo editing that we require for our personal purposes. Supposedly, it’s also easier to learn and easier to use. Another great thing is that Lightroom is nondestructive and historical changes are automatically retained within the file itself, without the need for separate layers or multiple files (saving the .psd and image separately).
We are mere amateurs at photography and post-processing using Photoshop, and complete novices at Lightroom, but we wanted to share our first attempt at Lightroom with you.
Obviously we do not have professional backdrops, softboxes, reflectors, or lights, but we do know the importance of getting the best raw image possible even in the limited time and resources we had. We found a neutral background with natural lighting that fell evenly.
Despite our efforts, you can see that the white balance is not perfect and that the overall look is dull. The light approaches our faces from below and therefore falls more on our lower than upper faces. It begins to fall even less uniformly between the time we took Kathy’s and the time we took Silas’ picture. Of course, there’s the fact that we look tired and have blemishes – imperfections that we don’t want recorded in our permanent record. Here are the before and after images:
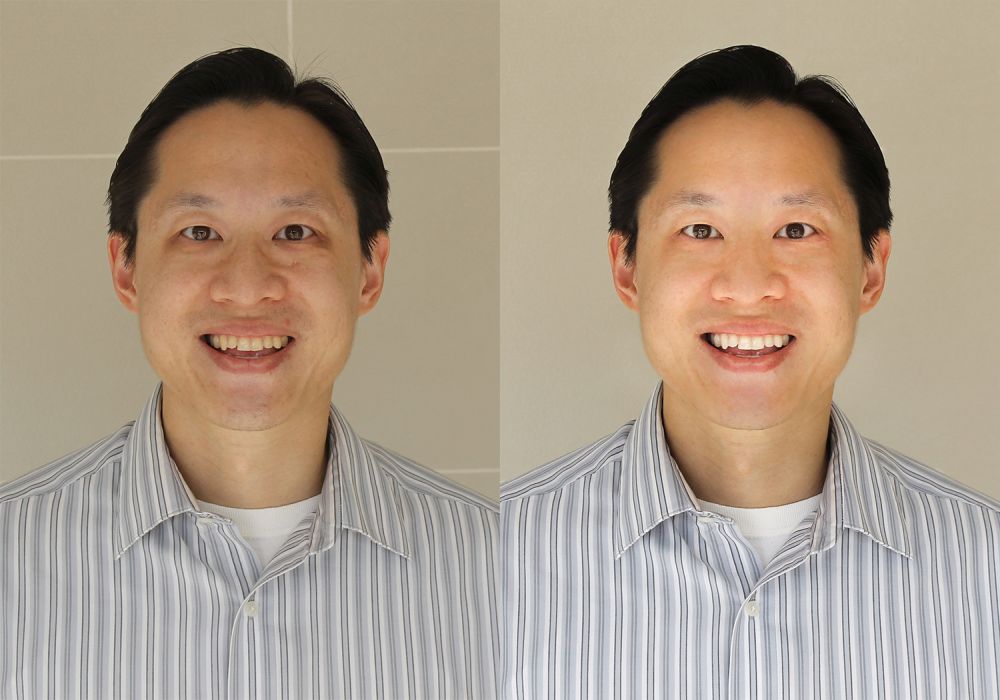
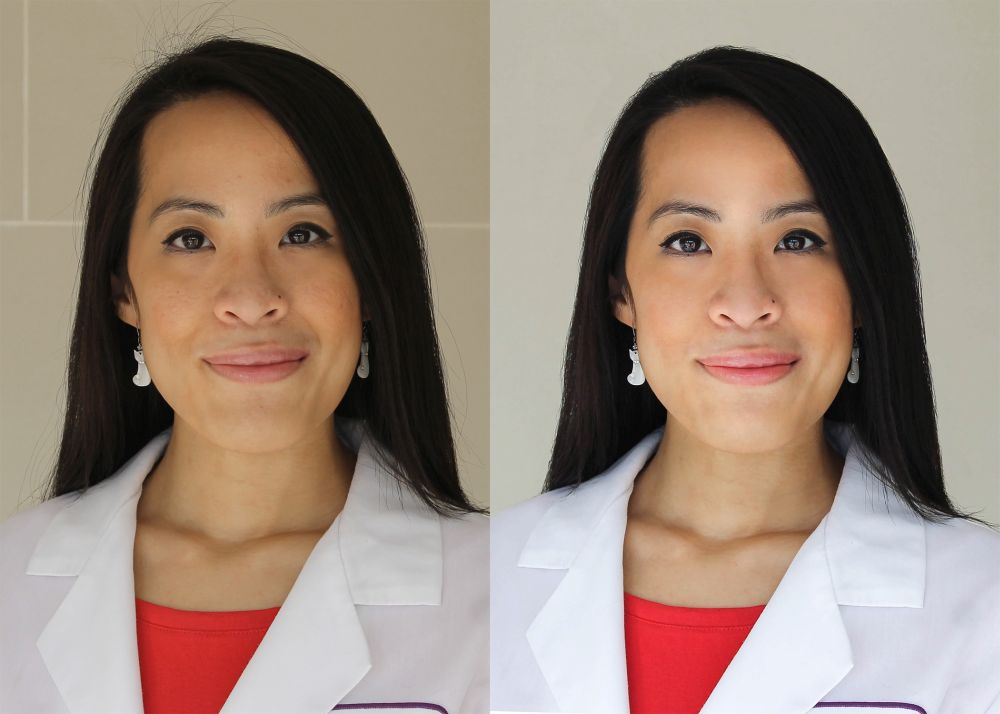
A full chronicle of our edits would be too extensive; furthermore, photo editing depends in huge part on personal tastes. Here is a summary of the changes that we made.
- Import and virtual copy: Lightroom is known for efficiently managing large numbers of images and even allows batch processing. Please remember to make a virtual copy in case you want to experiment with different edit strategies simultaneously.
- White balance and histogram: Adjusted to account for the color and temperature of the ambient lighting, as we did not shoot in a professional studio setting.
- Sharpen faces preset: Honestly, the actions of this tool were relatively unnoticeable… but maybe that’s a good thing as we want to look natural. As a preset, we suppose it did what it was supposed to do!
- Rotation: Using the manual lens correction, we ensured our pupils were horizontally leveled. This tool would also be helpful to level the horizon in scene photography.
- Radial filter: An excellent tool that allows you to select an area to be edited. We drew a circumference around the top halves of our faces to counter the direction of natural light.
- Spot remover: A must-have tool for portrait photography to eliminate unwanted backdrop features and those temporary zits, while not losing features natural to ourselves, like birthmarks. This is similar to the clone stamp of Photoshop except Lightroom automatically decides the area that will be cloned (that can be manually adjusted). Also, the spot remover can be drawn in a shape and not just a spot.
- Adjustment brush: For these particular images, this is the tool we used most frequently. We used to remove dark circles, lighten sclerae, whiten teeth, soften skin, sharpen features, and adjust highlights and shadows on our faces.
Our experiences demonstrate that Lightroom is indeed an effective and easy-to-use tool, even for less than ideal raw images and complete beginners who do not realize its full functionality. In full disclosure, we did use Photoshop for the final step when we cropped and made mosaic 2×2 head shots for printing a 4×6 photograph.
If you are familiar with Lightroom, we’d love to hear your tips on what we could have done differently and what we could have done additionally to make our pictures better! We always want to learn more. Leave a comment below.
Happy processing!
– Silas and Kathy May