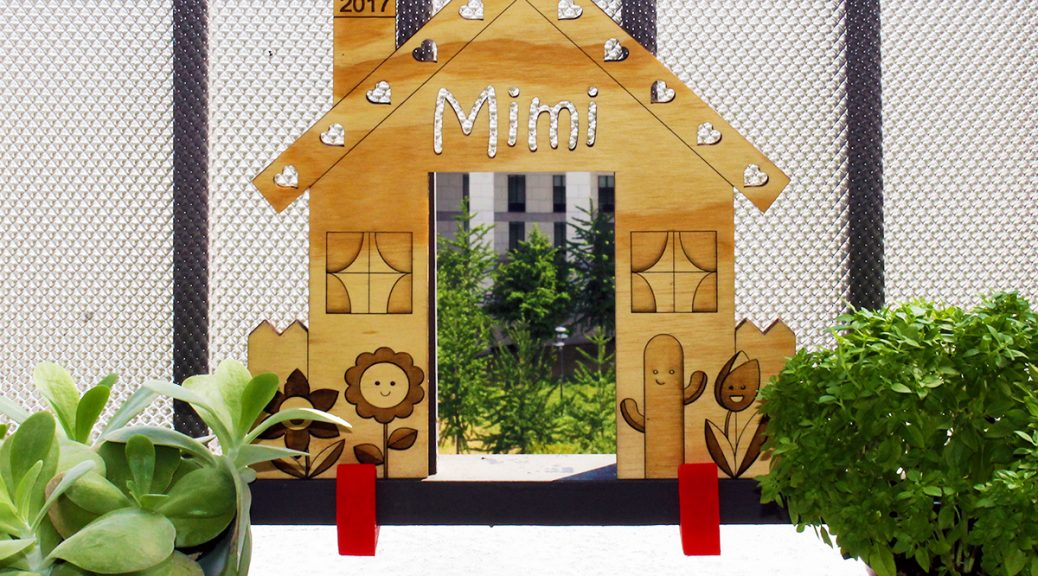
One of Mimi’s favorite pastimes is getting a breath of fresh air on our balcony. She puts her tiny head between the posts of the balcony and enjoys the spectacular view as much as we do! Recently, however, because our balcony gets quite a few gusts at this height, we have installed a wind barrier to protect our potted garden. Unfortunately, this barrier prohibits Mimi’s 20cm-high view of our 25th-story vista. Here’s our design solution: a tiny laser-cut door to give Mimi an unobstructed view!
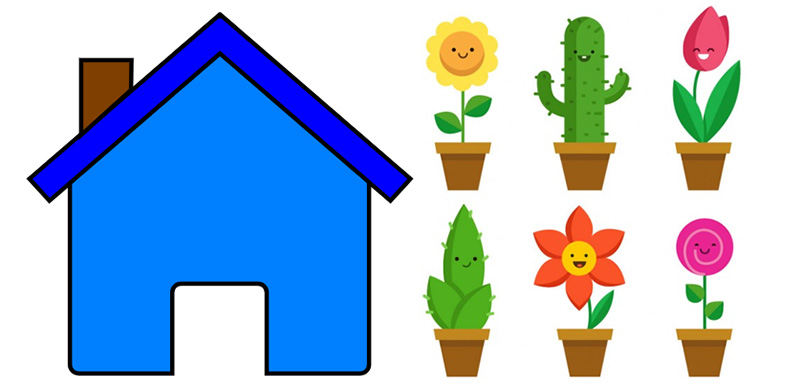
Mimi is a happy, peppy pup and the theme we chose was equally fun and playful. For the basics of the main design elements, we used pre-made vector files of a simple house from clker and anthromorphized flowers from freepik. There are innumerable free vectors available online, and a large advantage of vector art is that they can be imported into Adobe Illustrator to save a great deal of time in the design stage.
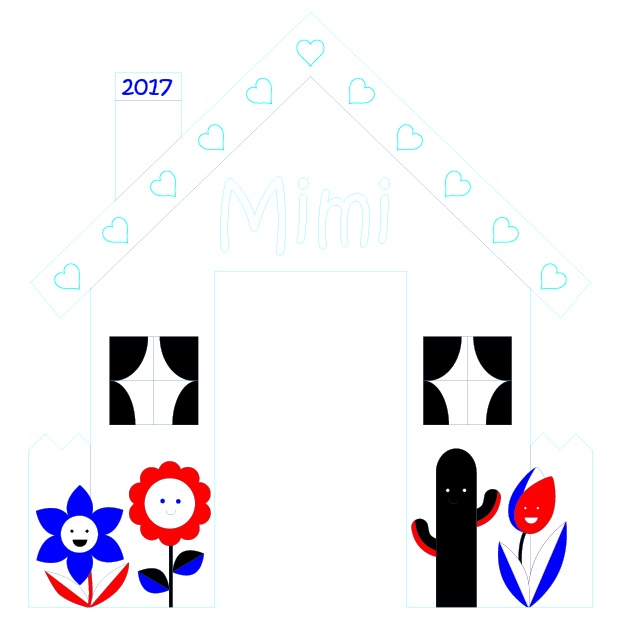
That being said, there was still a great deal of legwork to be done to modify the vector art into Mimi’s design (don’t worry, we won’t go into the nitty gritty in this post). In addition to tweaking the vector art, we also added other details including Mimi’s name to customize the design. After finalizing the design, we prepared the Illustrator file for the laser cutter. The instructions for the laser cutter – engrave, line, cut, etc. – are communicated via color. In this image, for example, cyan commands “vector cut”; navy blue commands “vector line”; and black, royal blue, and red command variable depths of “engrave.”
Next, we were off to Boston Makers, the non-profit makerspace in Jamaica Plains where we volunteer! Its laser cutter, 3D printers, and more are open to the community – let us know if you’re interested in dropping by! We imported our Adobe Illustrator file into Corel DRAW, which is the program the laser cutter utilizes to translate color (as above) to command. We selected 1/4” birch plywood for Mimi’s door. Here are a couple of 30-second videos of the laser cutter at work:
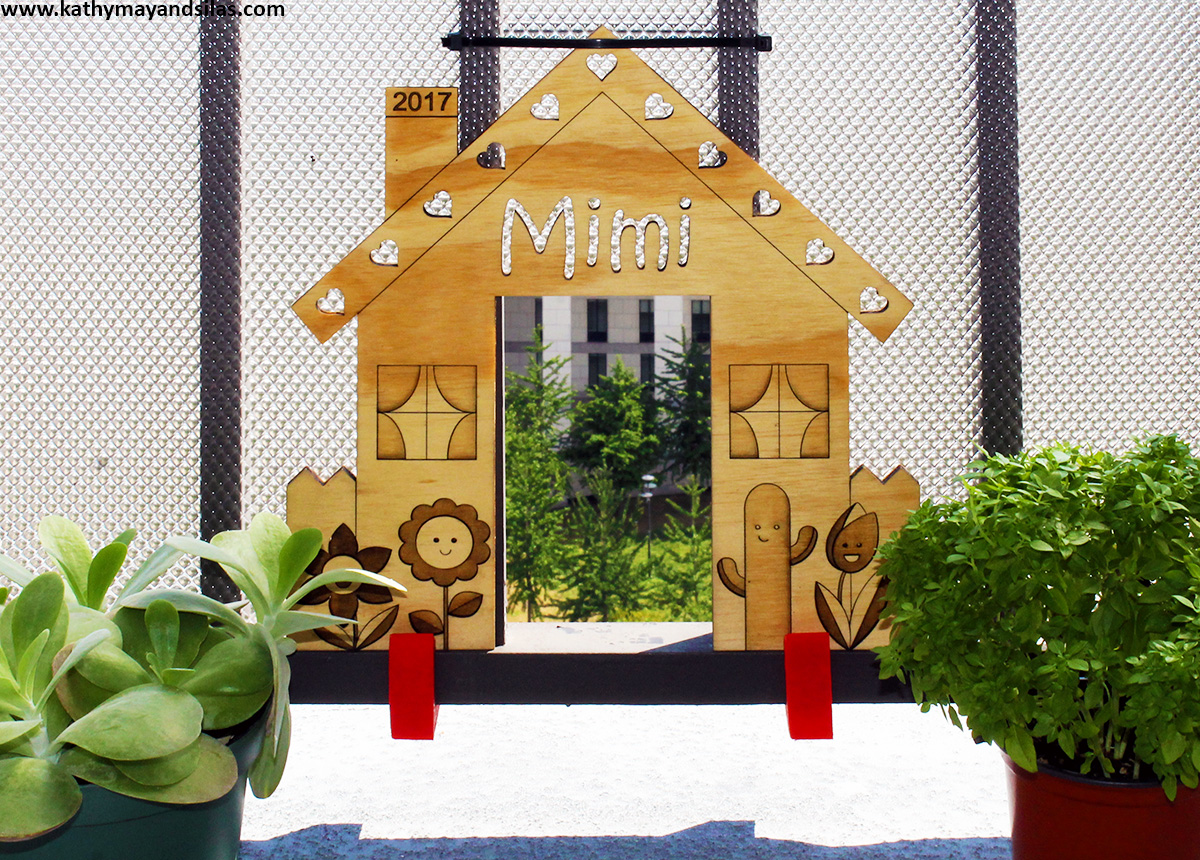
After cutting and engraving, we sanded the door to remove smoke stains from the laser cutting process. To prepare it for the outdoors, we sprayed it with two coats of Thompson’s WaterSeal Waterproofing Wood Protector. While at Boston Makers, we devised a way to mount Mimi’s door onto the balcony. Our solution was to design and 3D-print two C-hooks that would clamp the door to the bottom horizontal rung of the balcony. Here is a clip of the LulzBot as it is 3D-printing our C-hooks:
Back at home, we cut a Mimi-sized peephole from the wind barrier panel and slid the top of the house under the barrier’s fastener. The bottom of the house is held in place with the 3D-printed C-hooks. Here’s the final construction!
Mimi loves her new doggie door! She is again able to enjoy her view of the city below and to get a nice whiff of fresh air at her leisure! Click on the gallery images below to see some snapshots of her enjoying the balcony. By the way, we loved her door so much that we laser-cut a second copy to paint and display indoors. A picture of that is included in the gallery too!
Until next time,
Kathy May and Silas


That’s original and cute !!!!!!
As well, the plants look great and healthy.