Click here to see “Pysanky: Part 1 – Our First Ukrainian Easter Eggs” in which we decorated our first pysanky with our friends Anjie and Lily and give an overview of the process.
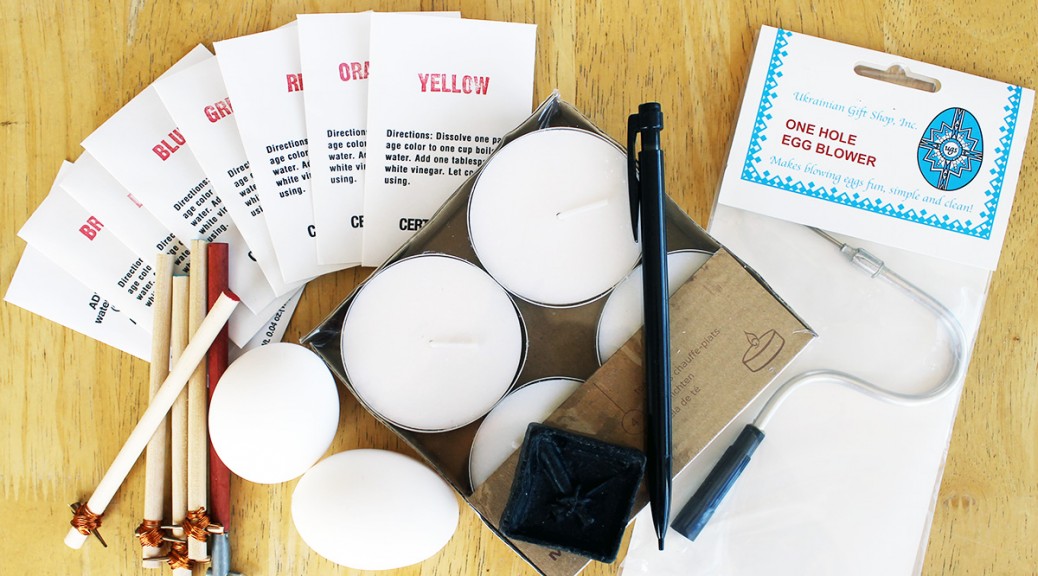
In preparation of making our pysanky, we required a number of specialized equipment. Even though pysanka-making kits are available, we opted to pick and choose our supplies. We bought them at an authentic Ukrainian shop in Lower East Side, Manhattan (Arka on 2nd St at 1st Ave). Here’s what we got:
- Egg blower – optional! As children, Kathy May’s mom taught her and her brother to blow eggs the old-fashioned way. Having a tool to blow eggs, however, makes the process easier and faster. There are a few types of egg blowers. Some, like our S-shaped blower, require lung power to blowing out the egg. Others utilize an accordion or ballon pump to remove contents.
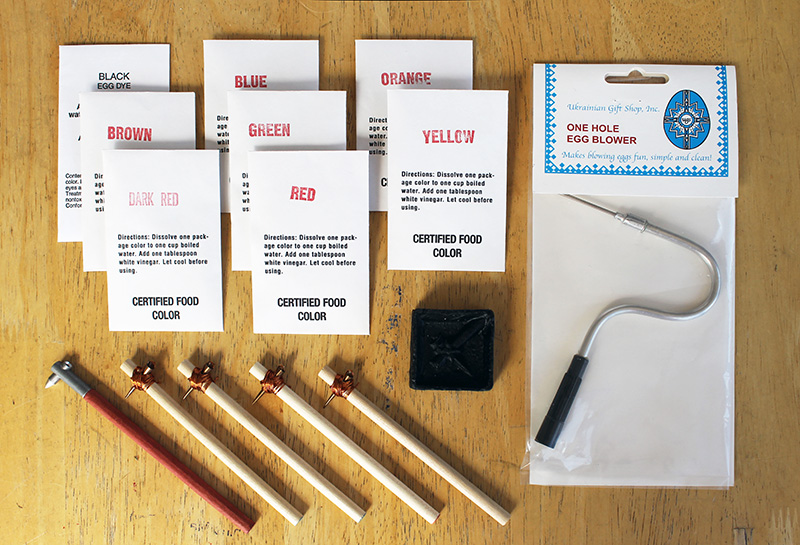
- Kistka – the stylus that will dispense the wax. Available are: traditional (wooden handle with copper funnel and wire), Delrin (thermoplastic with brass funnel), and even electric kistkas. They are available in fine, medium, or heavy funnel sizes. Fine is a necessity for detailed designs; medium is most versatile; and heavy is helpful for filling in larger areas. Each of these were about $2.
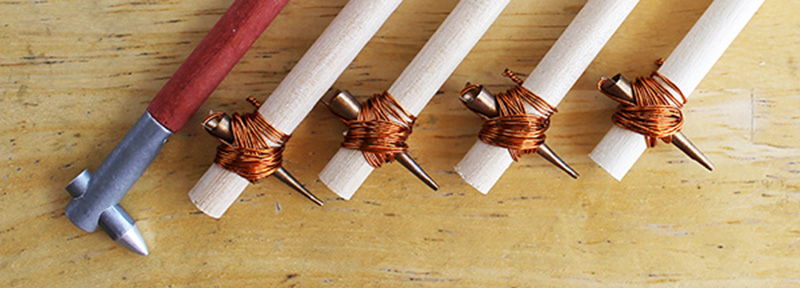
Kistkas in three sizes: two fine, two medium, and one heavy - Beeswax – much softer than typical candle wax. Natural or black colors are available in small blocks. If the natural-colored beeswax is used, one may use soot from the kistka/candle to darken the wax and allow visibility when it is applied onto the egg. We decided to go the easier way and buy a beeswax with black coloring from the get-go.
- Dyes – not your typical food dye or Easter egg dye. These are acid-based that are distributed as powders in small envelopes. The most basic traditional colors are yellow, red/orange, green, brown and black. Nowadays, they’re available in all colors of the rainbow.
- Varnish – We settled on an oil-based polyurethane from a local hardware store. Polyurethane is easy to find, but the tradeoff is it causes whites to yellow over time. There are a number of alternatives, but make sure to avoid non-clear and water-based options!
In addition to the more specialized supplies above, you will also require a number of household supplies:
- Egg – with as few defects as possible. As the pysanka dye is acid-based, sequential colorings will weaken the shell. Investing in a good substrate without hairline cracks will be helpful in making the best pysanka. We’ve only used chicken eggs but you can use any kind.
- Soap – a mild dishwashing detergent will do.
- Engineering pencil – light and thin for precision.
- Candle – not for the wax but for the flame.
- Jars – to mix your dye. Make sure the mouth is large enough for the egg itself and then some.
- Spoons or wire loop – to remove the egg from the jar.
- Tissues – lots and lots of tissues.
- Hair dryer – to melt the wax. Alternative heat sources are candles and the oven.
- Drying rack – we made our own which we’ll show you later.
Other items you may consider using are rubber bands and flexible rulers made of paper or cloth to help you make straight lines in planning your design. You may also choose to have gloves and newspapers handy because of inevitable messes. Finally, cotton balls may be helpful to apply color to a small section without submerging the entire egg.
In the next post of our pysanka series, we will begin our pysanky by preparing the eggs and mixing the dyes! Stay tuned.
Until next time,
Kathy May and Silas
