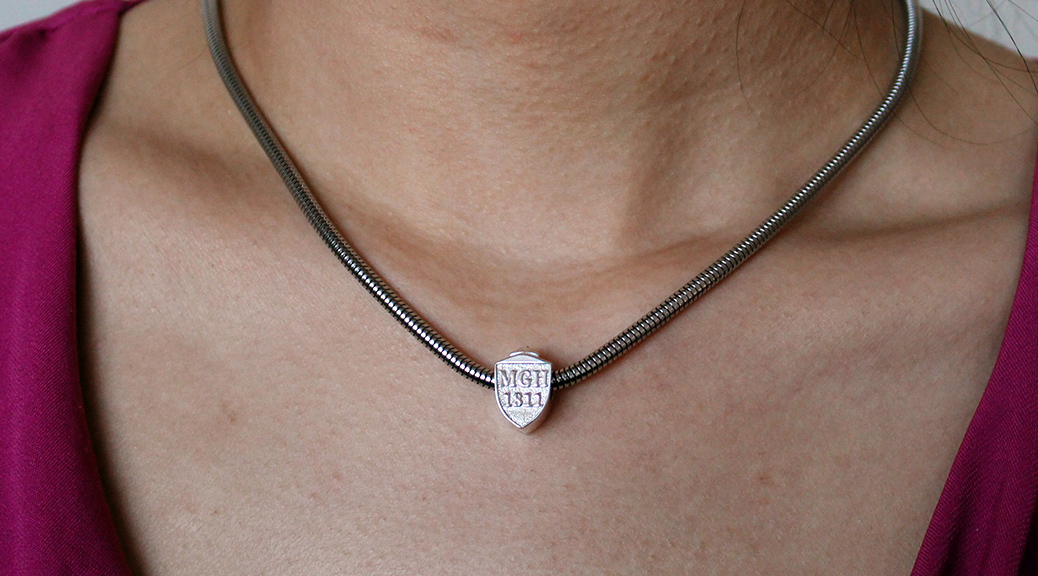
Charm necklaces and bracelets are popular for the ability to customize jewelry to make it more meaningful for the wearer. We took customized jewelry to the next level by designing and then 3D-printing a unique necklace charm for Kathy May. I took inspiration from the popular Pandora charms and set out to make our own. It had happened that Kathy May recently lost the necklace that she had been wearing, and so this was an opportunity to replace it. I originally made this charm for Christmas but more recently revised and improved the design. This is the first of what we hope will be a collection of very personalized charms for Kathy May’s new necklace. Here is a close-up photo of the charm on a necklace chain:

The design
This first charm is intended to represent Kathy May’s time training at the Massachusetts General Hospital, which is the original and largest teaching hospital of Harvard Medical School. The design of the charm is inspired by the logo of MGH as well as that of Harvard. Because of the small size of the charm and the physical limitations of the 3D printing process, the details of the logos had to be stylized somewhat, but not too much that the logos were no longer recognizable. I also wanted to take advantage of having the third dimension to work with and make the charm more than just an extruded 2D shape. I thus took the graphical part of the logo, which represents the Ether Dome of the Bullfinch building, modeled it in 3D, and put it on the top of the charm like a roof. The Ether Dome is an architectural landmark on the MGH campus, but is also historically significant as the location of the first successful demonstration of surgical anesthesia in 1846. Before this, all surgery was done fully awake, if you can even imagine what that would have been like! Watch the video below for a look at the design and preparation stage of the creation of this charm:
Creating the 3D model
A digital 3D model of an object is needed to instruct the 3D printer how to make the object. I used Autodesk’s 123D Design to create the model. This program was free but unfortunately has been discontinued by Autodesk in favour of its other 3D modeling programs, TinkerCAD and Fusion 360, which are both free for personal use. The basic principles of the programs should be similar, though. 123D Design has a point-and-click interface that has a live rendering of the model, and it accepts keyboard input for more precise measurements. You start with primitive solids such as cubes and cylinders as well as with 2D shapes such as curves and text that are extruded or otherwise made into 3D solids. These are then combined and subtracted to create the final, complex model. The 2D drawing and text tools are adequate for many things but it’s also possible to import SVG (Scalable Vector Graphic) files from more sophisticated software such as Adobe Illustrator or the free/open-source Inkscape.
For this charm I used Illustrator to extract the shape of the shield from a file of the MGH logo. I also prepared the text with Illustrator to make use of fonts and typography tools not available in 123D Design. These were saved as SVG files and imported into 123D Design. There is a problem with small SVG files being distorted when imported (it may be some kind of rounding bug) so to get around it, create the file with larger dimensions and scale it back down after importing. I transformed these 2D images plus some simple 2D shapes drawn directly in 123D Design into the model of the charm using the extrude, shell, revolve, combine, and align tools. For a necklace charm, it is also important to position the opening for the chain so that the charm is weighted properly to stay upright when worn. To do this, I divided the charm into a top and bottom half, and measured the volume of the halves to ensure that the bottom half will be heavier than the top. Finally, I engraved some simple lettering into the inside of the charm. Watch the video below to see how I created the 3D model in 123D Design. The screen capture runs at 4x speed to save time:
This is a longer, more detailed version where the screen capture runs at 1x speed if you are interested in learning the process step by step (note: the video runs about 30 minutes):
Printing the charm
Although the makerspace where we volunteer, Boston Makers, has several 3D printers, printing in metal is beyond the capability of a household desktop 3D printer since the melting point of metal is so much higher than that of plastic. I used Shapeways’ industrial-grade equipment to print the charm in sterling silver. Shapeways is a 3D-printing service that takes the digital 3D model and prints it in any of a variety of materials. They also offer a marketplace where artists can sell their work, which is printed on demand and shipped directly to the customer. Other similar services include i.Materialise and Sculpteo. These services make 3D printing of finished products available to anyone with a digital 3D model. In this case I exported the model from 123D Design as an STL (STereoLithography) file and uploaded it to Shapeways.
There are several techniques for printing metal. For precious metals such as silver and gold, Shapeways uses a lost-wax casting technique. The object is first 3D printed in wax. Then, liquid plaster is poured into a container around the wax object to create a mold. After the plaster sets, the wax is melted out and molten metal is poured into the mold and the mold is removed from the object. Finally, the object is polished and shipped. The whole process took about ten days from upload to delivery. Did you know: metal Pandora charms are also made with a lost-wax casting technique – though the wax models are made using rubber molds rather than being 3D printed. Here is another photo of the final charm in sterling silver:

Until next time,
Kathy May and Silas
Click on the thumbnails in the photo gallery below to see more photos of the finished product:


WoooooooooooooooW !!!!!!
Was it printed with metallic filaments ?????